
Many people consider recreational vehicles their home, especially for those who are on a long drive and are out in the woods. Therefore, there is a need to use the toilet more than once a day.
If you’re one of these individuals, there will come a time when you need to replace the existing RV toilet because it’s damaged or worn out. It is necessary that you know how to remove a Thetford RV toilet, since the majority of camper vans come with a permanently installed toilet manufactured by Thetford.
Table of Contents
What Are the Tools You Need to Remove a Thetford RV Toilet?
You only need three tools in the process of Thetford toilet removal. They are the screwdriver, socket wrench, and socket wrench extension.
These materials are often seen in your garage or your father’s toolbox. A cloth is optional and is only used mainly for cleaning and for covering the waste hole.
- Flathead screwdriver – There are different varieties of screwdrivers. The main difference they all have is the shape of their head. As its name suggests, a flathead screwdriver has a wedge-shaped flat head tip. It is commonly used to either loosen or tighten screws that have a linear groove on their head.
- 5-inch Socket wrench – A socket wrench is a handy tool that enables you to switch and turn nuts and bolts that come in different sizes. Using a socket wrench is much easier compared to using a regular wrench.
- Socket Wrench Extension (12 inches) – A socket wrench extension is a tool used to assist a socket wrench in reaching areas that are difficult to access. It comes in several varieties of lengths and designs.
- Rag or Cloth – You can use this to wipe or clean surfaces.
What Are the Steps for Thetford RV Toilet Removal?
Follow these easy steps to remove an RV toilet:
Step 1: Switch off any water source
Make sure that you switch off any water source that is coming and going to the toilet. Either turn off your water pump or remove the water hose from the pipe valve that connects you to the city’s water supply.
To assist you with the steps in disconnecting from the water supply, it is best that you rely on the detailed manual that comes when you purchase your camper van. If there is no available manual, you can just search it up online.
Ensure that you never forget to do this step, because you will not be able to remove the toilet itself if the water is still flowing. You do not want to let the toilet water flow all over inside your camper vehicle, do you?
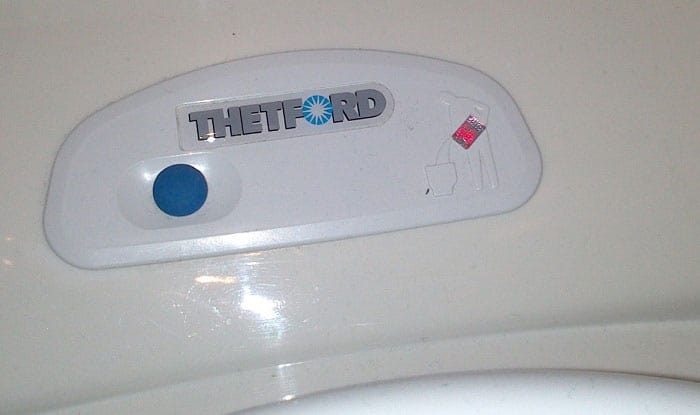
Double-check if your RV toilet comes with a spray attachment; it is often located at the back of the toilet. If there is one, switch off its water supply by turning the valve knob counterclockwise.
Step 2: Flush the RV toilet to release any water pressure
Make sure that you fully release any water pressure by flushing the RV toilet and the spray attachment. Stop when there’s no more water flowing out.
Step 3: Take out and deplete the water supply line
If you did not do the first step, then this is where a problem will appear. Ensure that you remove and drain the water supply line if you haven’t done so.
Step 4: Remove toilet bolt covers & toilet bolts
Most probably, the nuts and bolts of your RV toilet have covers. To remove them, make use of your flathead screwdriver.
Double-check all sides of the toilet — front, back, left, and right, and find any visible RV toilet bolt covers and remove them.
After removing all the bolt covers, you may take off the nuts and bolts with the help of a 0.5-inch socket wrench. For areas that you find difficult to access, make use of a 12” socket wrench extension to assist you with your task.
Technically, this step is the most tedious part of the process. When you have successfully removed the nuts and bolts, the following steps will just be a piece of cake for you.
Note: Most likely, your newly purchased RV toilet will come with a Thetford RV toilet seal replacement with nuts and bolts. However, it is better to be prepared and keep the old toilet bolts in case the new toilet doesn’t have them.
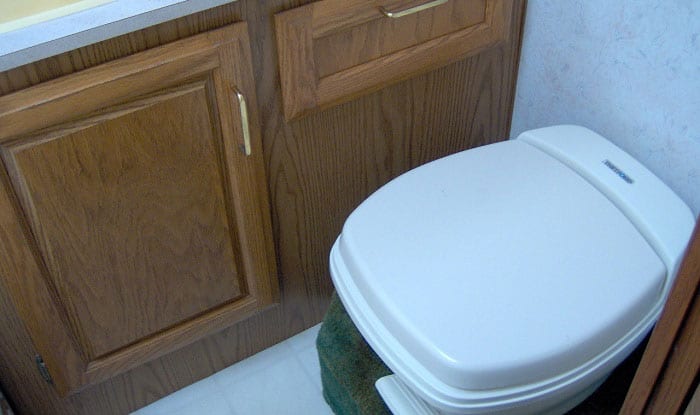
Step 5: Take out the existing toilet off the floor
Once all the security nuts and bolts are removed, you can now take out the existing toilet off the floor by lifting it. This will not take much of your energy as most Thetford RV toilets, such as the Thetford Aqua Magic toilet, are lightweight.
Step 6: Clean the surface of the floor flange
Using your rag, ensure that the floor flange surface is clean and clear of any trash and sealant residue.
Step 7: Put a cloth at the top of the waste hole
Although this is optional, you may want to consider putting a cloth above the waste hole. A cloth is added to lessen any smell from the black water tank below. Moreover, it helps in preventing any screws, nuts, bolts, and other tools from dropping right into the hole.
What Is a Thetford RV Toilet?
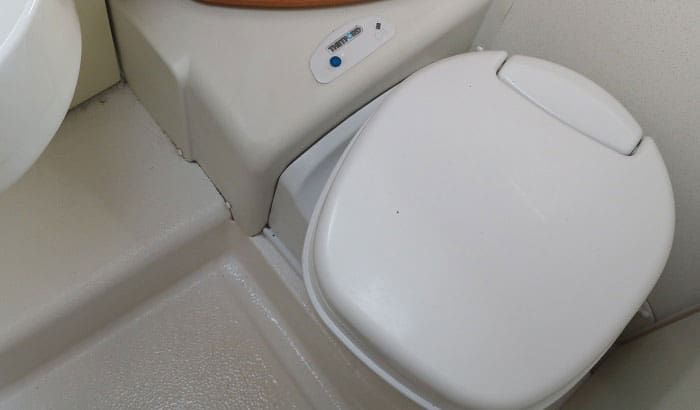
To camper van owners, Thetford is a well-known manufacturer of camper van toilets. Its products are lightweight, stylish, and durable, and available in different options you can choose from according to your preferences.
Thetford toilets have an ergonomic characteristic to ensure a comfortable and elegant experience, even if you have to go to the loo while you are on the road.
What Are the Different Types of RV Toilets?
RV toilets also come in different types and designs. Oftentimes, what makes them different from one another is the flushing system.
Traditional Gravity Toilet
This is the most common RV toilet for older generations of any camper vehicle. This is pretty much similar to the toilets you can see at home. The only difference it has compared to the ones you see at most houses is that it does not come with a water storage tank.
The toilet is flushed using a foot pedal, and its tank can be filled with the help of a lever. The traditional gravity toilet can only be used if it is connected with a water supply.
Macerating Flush
The RV macerating flush toilet comes with a built-in flush system. This system has a motor-powered blade that crushes any waste prior to its transportation to the waste tank or the black tank. The process of grinding helps in making the waste turn into fluid.
Composting Toilets
Composting toilets are mostly recommended when you don’t have much water supply. It is not designed to be used together with water as it separates solid from liquid matters.
However, it is not recommended to be used by many people as it requires a little more time to empty the tank.
Conclusion
Time will come where you will have to replace your RV toilet, especially when it has completely worn out. Therefore, it is necessary to learn in advance how to remove a Thetford RV toilet.
Replacing the existing RV toilet will not take much of your time, and almost anyone can do it. The steps are easy to follow, but if you still find it hard to do it yourself, you can always call a friend to help you out.
If you have any tips on how to remove a Thetford aqua magic toilet or other models, feel free to share them with us. Thanks for reading!

Hi, I am Joseph. Carpe diem! Seize the day! That’s always been my life motto. If you haven’t seen some of the most beautiful places in the country, you are missing out on incredible adventures.