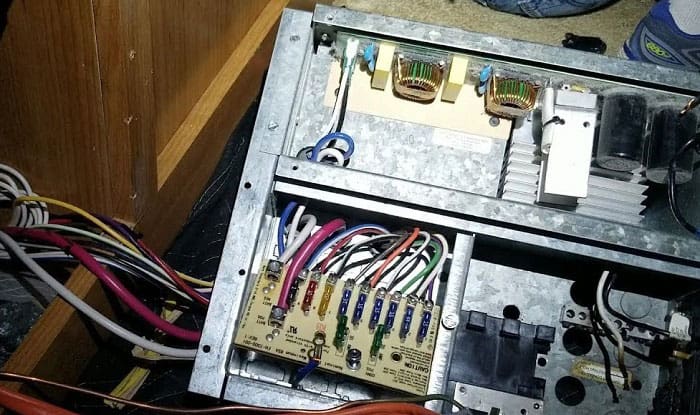
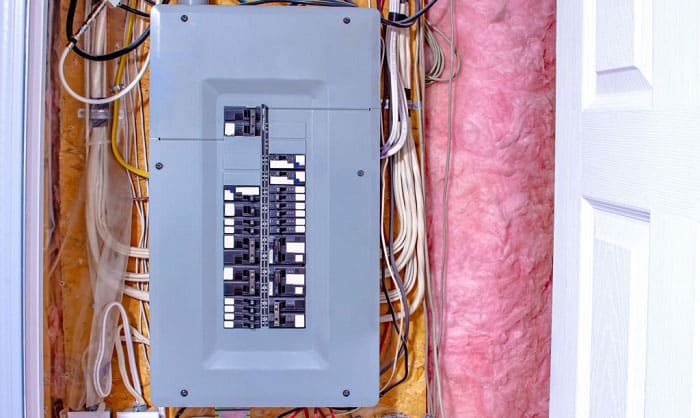
Traveling across the country in an RV requires a stable source of electricity and excellent wiring to last you throughout your journey. Finding an impressive breaker box for RV is only the first step of it all. Next up, you need to make sure that you have it connected properly into your rig.
If you are having second thoughts in installing the travel trailer breaker box all by yourself, do not fear. This article aims to help all rig owners find out how to wire an RV breaker box. Continue reading this article to know more.
Table of Contents
What Are the Tools That You Will Need?
Just like every installation process, there is a set of tools that you will need to install a 30 amp RV breaker box to your trailer. Aside from an RV breaker box replacement, it’s important to have most of the items on this list so that you can go through this process smoothly.
If you have an RV breaker box wiring diagram, follow it as well. To help you prepare for the installation of your breaker box, here’s a list of the tools and things that you will most likely need.
- Deep-lid weatherproof box
- TT-30R outlet
- Screwdriver
- Metal junction box
- Felt-tip marker
- 1/8 inch masonry bit
- Voltage meter
- Type UF-rated
- Electric drill
- 3/8 inch wall anchors
- Craft knife
- Size 8 wood screws
- Wire stripper
Steps in Wiring Your Camper Breaker Box
Now that you have everything you need, it’s time to start the process. This installation won’t take too much of your time and is relatively easy compared to other electrical wirings that you need to do in your RV. Without further ado, here are the steps that you need to do in order to install an RV breaker box in your travel trailer.
Step 1: Find a good location to install your breaker box
Before everything else, you should pick out where you will install the breaker box in your RV. To find the best location for it, you need to locate the outlet first. This area should not be prone to any accidents or rain water.
Make sure to mark the area where you will install the RV breaker box. If you want to install it outside your RV, make sure to get a waterproof box for optimum protection. Along with the mark, decide the location of two holes in the back of the wall where you will install the breaker box.
Step 2: Secure the breaker box in place
Once you’ve chosen an RV breaker box and where to put it, you can now continue to install it to the wall of your choice. Start by preparing size 8 screws, which you will use to secure the breaker box into place.
Next, get your drill with a ⅛ masonry bit and ⅜ inches wall anchors to drill in the holes for the box. Check the box’s sides for the circular panel and remove it. After that, find the metal junction inside the box and ensure that the knock-out hole is pointing downwards.
Step 3: Prepare the wirings
For this step, you need to make sure that there’s no electric current present whatsoever. You can do this by switching off the breaker box or using a voltage meter to be safe.
Locate the wires from the outer jacket and start by trimming out six inches from a wire end. Be sure to avoid trimming the wires inside the insulation.
Create copper pins from the wire ends by removing 0.5 inch of insulation from each wire and making it look like a rope.
Step 4: Connect the RV wires to your breaker box
Find the red and black wire and connect them to the sides of the breaker box. Connect the white wire to the neutral bar. Secure it with cable clips to make sure that it’s tight, but not too tight.
Next, slip the wires through the bottom of the weatherproof box and through the metal box inside.
Trim the wires for about two inches and make sure to not cut off the insulation. Install them with the help of the TT-30R and tighten each wire securely. Make sure the TT-30R screw holes are aligned with the metal box’s tab.
Step 5: Finalize the RV AC breaker panel installation
To finish off your installation process, insert the main umbilical wire to the breaker box and the outlet. Make sure to close the box properly to seal it from the outside.
Test if it’s working and if it is, clean up the tools you used and store them properly. On the other hand, if there is a problem, make a few adjustments to the way you installed it.
Conclusion
Wiring an RV breaker box to your RV can be a very daunting task, but not anymore. Gone are the days of worrying about wiring a breaker box to your RV. From now on, you’ll be able to make necessary changes to your RV breaker box without worrying about not knowing what to do.
I hope that this article was able to help you find out how to wire an RV breaker box to your camper. Don’t forget to leave a comment below and share this to your friends.

Hi, I am Joseph. Carpe diem! Seize the day! That’s always been my life motto. If you haven’t seen some of the most beautiful places in the country, you are missing out on incredible adventures.


